Mesh Network Communication
Overview - Mesh Network Communication
MeshCore
Why MeshCore? When you do something, you should do it right. Mesh communication is exciting, and in my opinion, it is important to have a decentralized off-grid messaging system. I am convinced that the young MeshCore protocol is the better choice for this than Meshtastic. In the future, I will do my best to contribute to the network with new repeaters and hope to inspire others to join in.
To learn more about the Meshcore project, visit the official website: https://meshcore.co.uk
If you want be part of the mesh, connect with other Meshcore users:
MeshCode Deutschland @ Telegram
MeshCore @ Discord
Or contact me directly if you have any questions or comments: ices[at]attyc.de
Every repeater improves the mesh network!
Nodes
Since September 26, 2025, all my nodes are operating on the EU/UK Narrow Preset (869.618MHz / SF8 / BW62.5 / CR8).
Repeater
| Long Name | Standort | Hardware |
| D-AR mesh.attyc.de | Alt-Arnsberg | RAK4631 / RAK19003 |
| D-BO-WAT mesh.ttyc.de | Bochum Wattenscheid | Heltec V4 |
Room Server
| Name | Standort | Hardware |
| ARS1 | mesh.attyc.de |
Alt-Arnsberg | Heltec Wireless Paper |
Feel free to visit my Room Server and leave me a message! 🙂 The guest password is: hello
Companions
| Name | Hardware |
| ices T1000E | mesh.attyc.de | Seeed SenseCAP T1000-E |
| ices iDeck | mesh.attyc.de | LilyGo T-Deck Plus interal antenna |
| ices eDeck | mesh.attyc.de | LilyGo T-Deck Plus external antenna |
Meshtastic
I no longer actively use Meshtastic. However, the one client node will remain in place for the time being.
Nodes
| Long Name | Short Name | Standort | Hardware | Role |
Meshtastic Linux Native Client based on Raspberry Pi Zero 2
Since I won't be doing much more with Meshtastic ( I see the future in MeshCore), but still want to keep one node, I decided to move my home node to a different antenna. The node is now operating on the roof on the garden side with an ALFA antenna in a 3D-printed holder, so I can still observe how the Meshtastic network develops.

Below is the original article featuring the first antenna.
My DIY Meshtastic Home Node based on a Raspberry Pi Zero 2, the Waveshare PoE Ethernet/USB HUB HAT, and the MeshAdv Mini Launch Edition: LoRa/GPS Hat. The node is operated in the attic, powered via POE, and an Mikrotik 868 Omni antenna is on the roof.
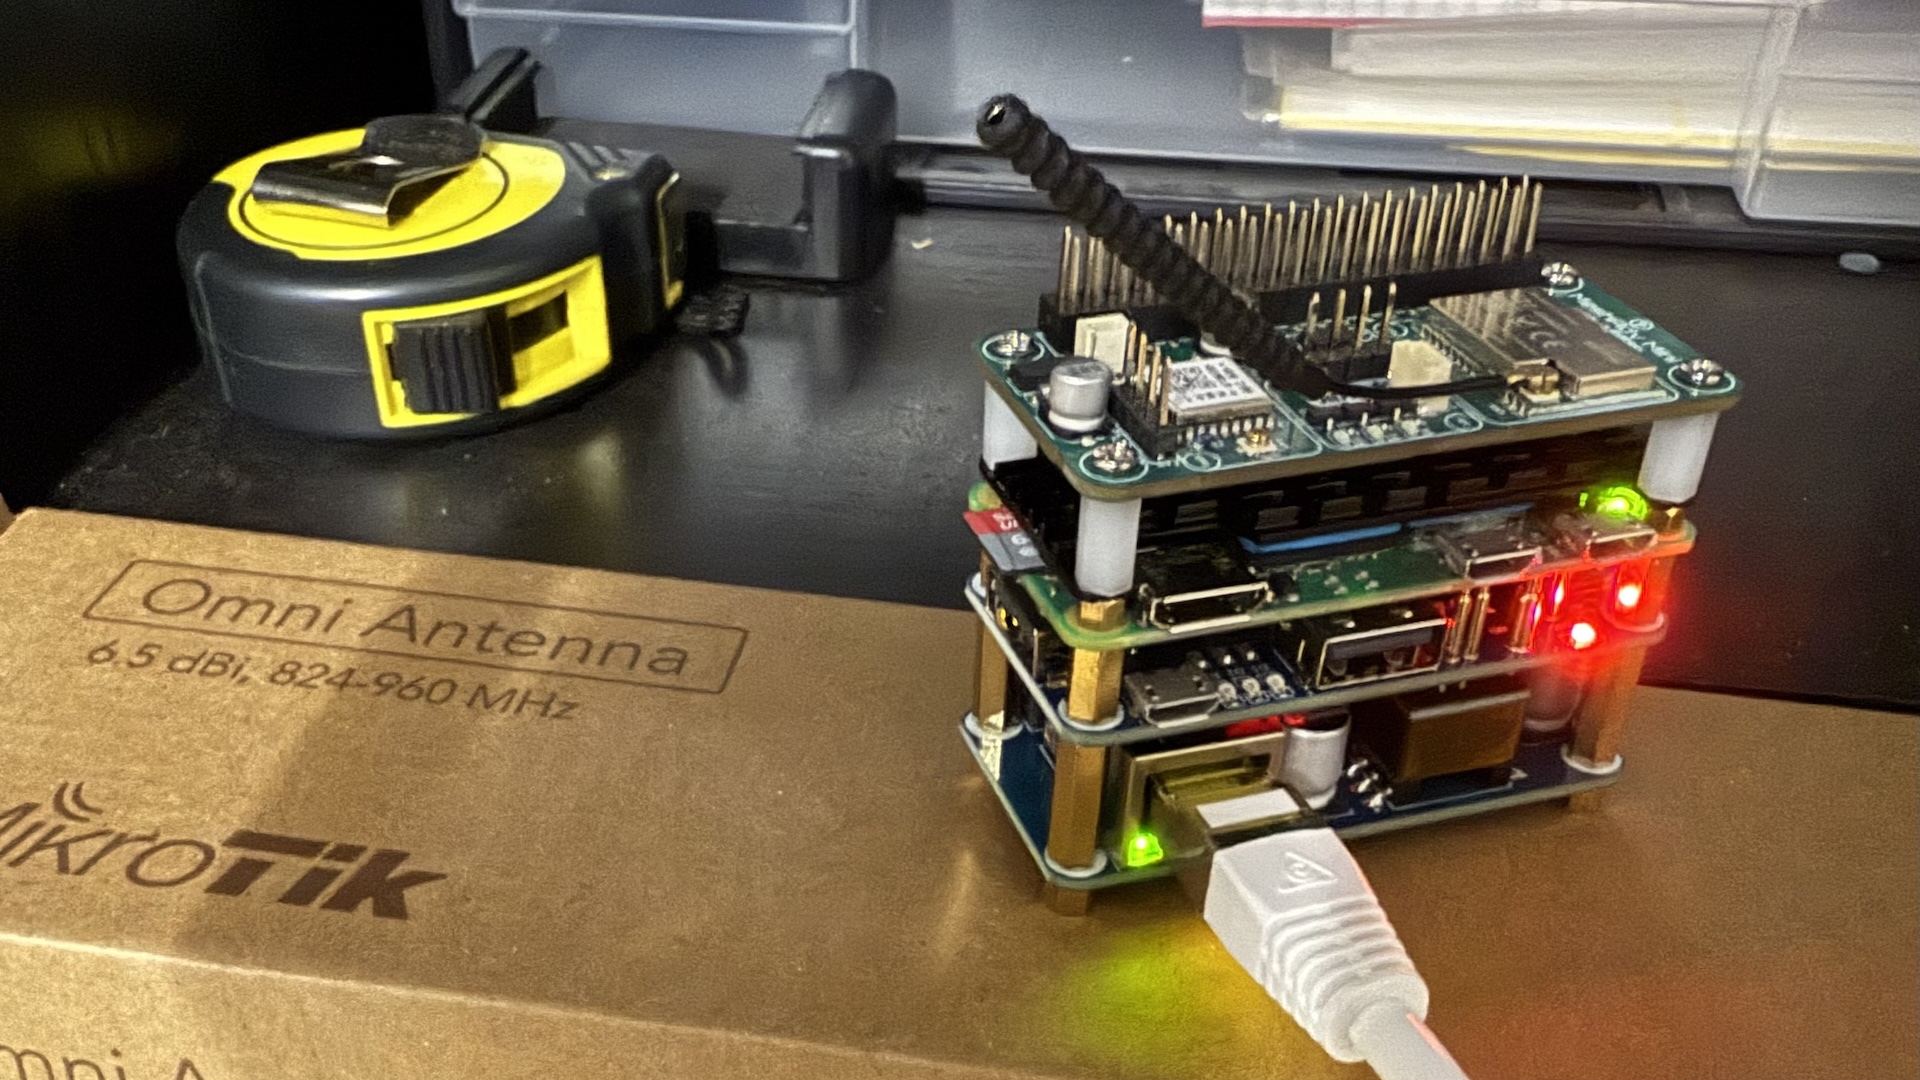
The goal was to have a reliable node that could be easily updated and configured via SSH. POE is ideal as a power source for this purpose, as it also provides a stable network connection for MQTT connections. The switch that provides POE is buffered via a UPS.
Antenna mount
Since I live in a rented house, I decided on a non-destructive way to install the antenna on the roof. There is a metal-framed skylight in the attic, so it was obvious to use magnets. I designed two 3D-printed parts in TinkerCAD to connect the antenna and the magnets.
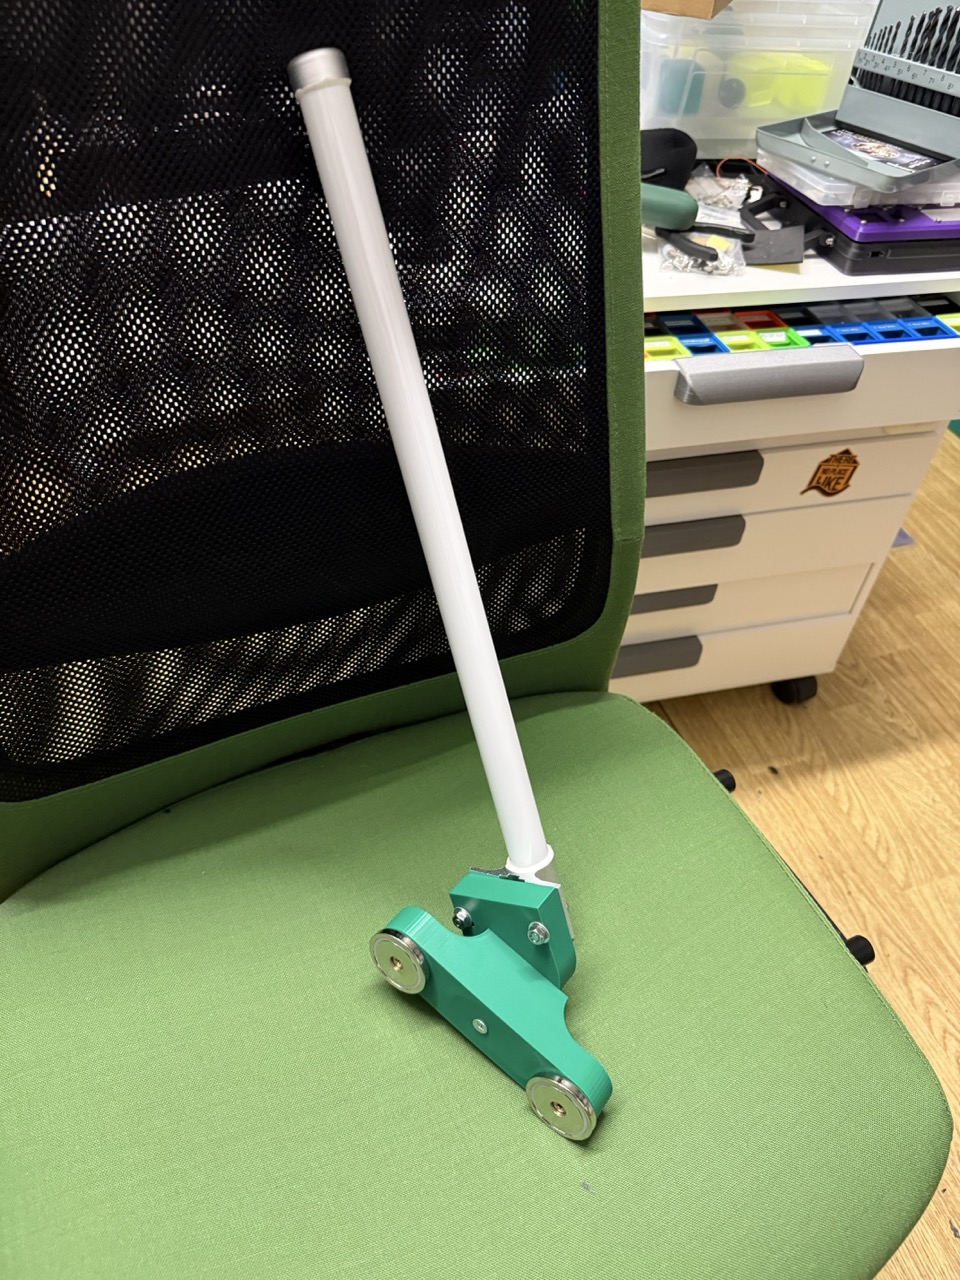
The first prototype wasn't a perfect fit, but it proved that the type of fastening was suitable. The second print produced perfect fitting plastic parts, which were then assembled. The magnets hold almost too well! 😎
|
|
|
|
The final product... |
... on the roof. |
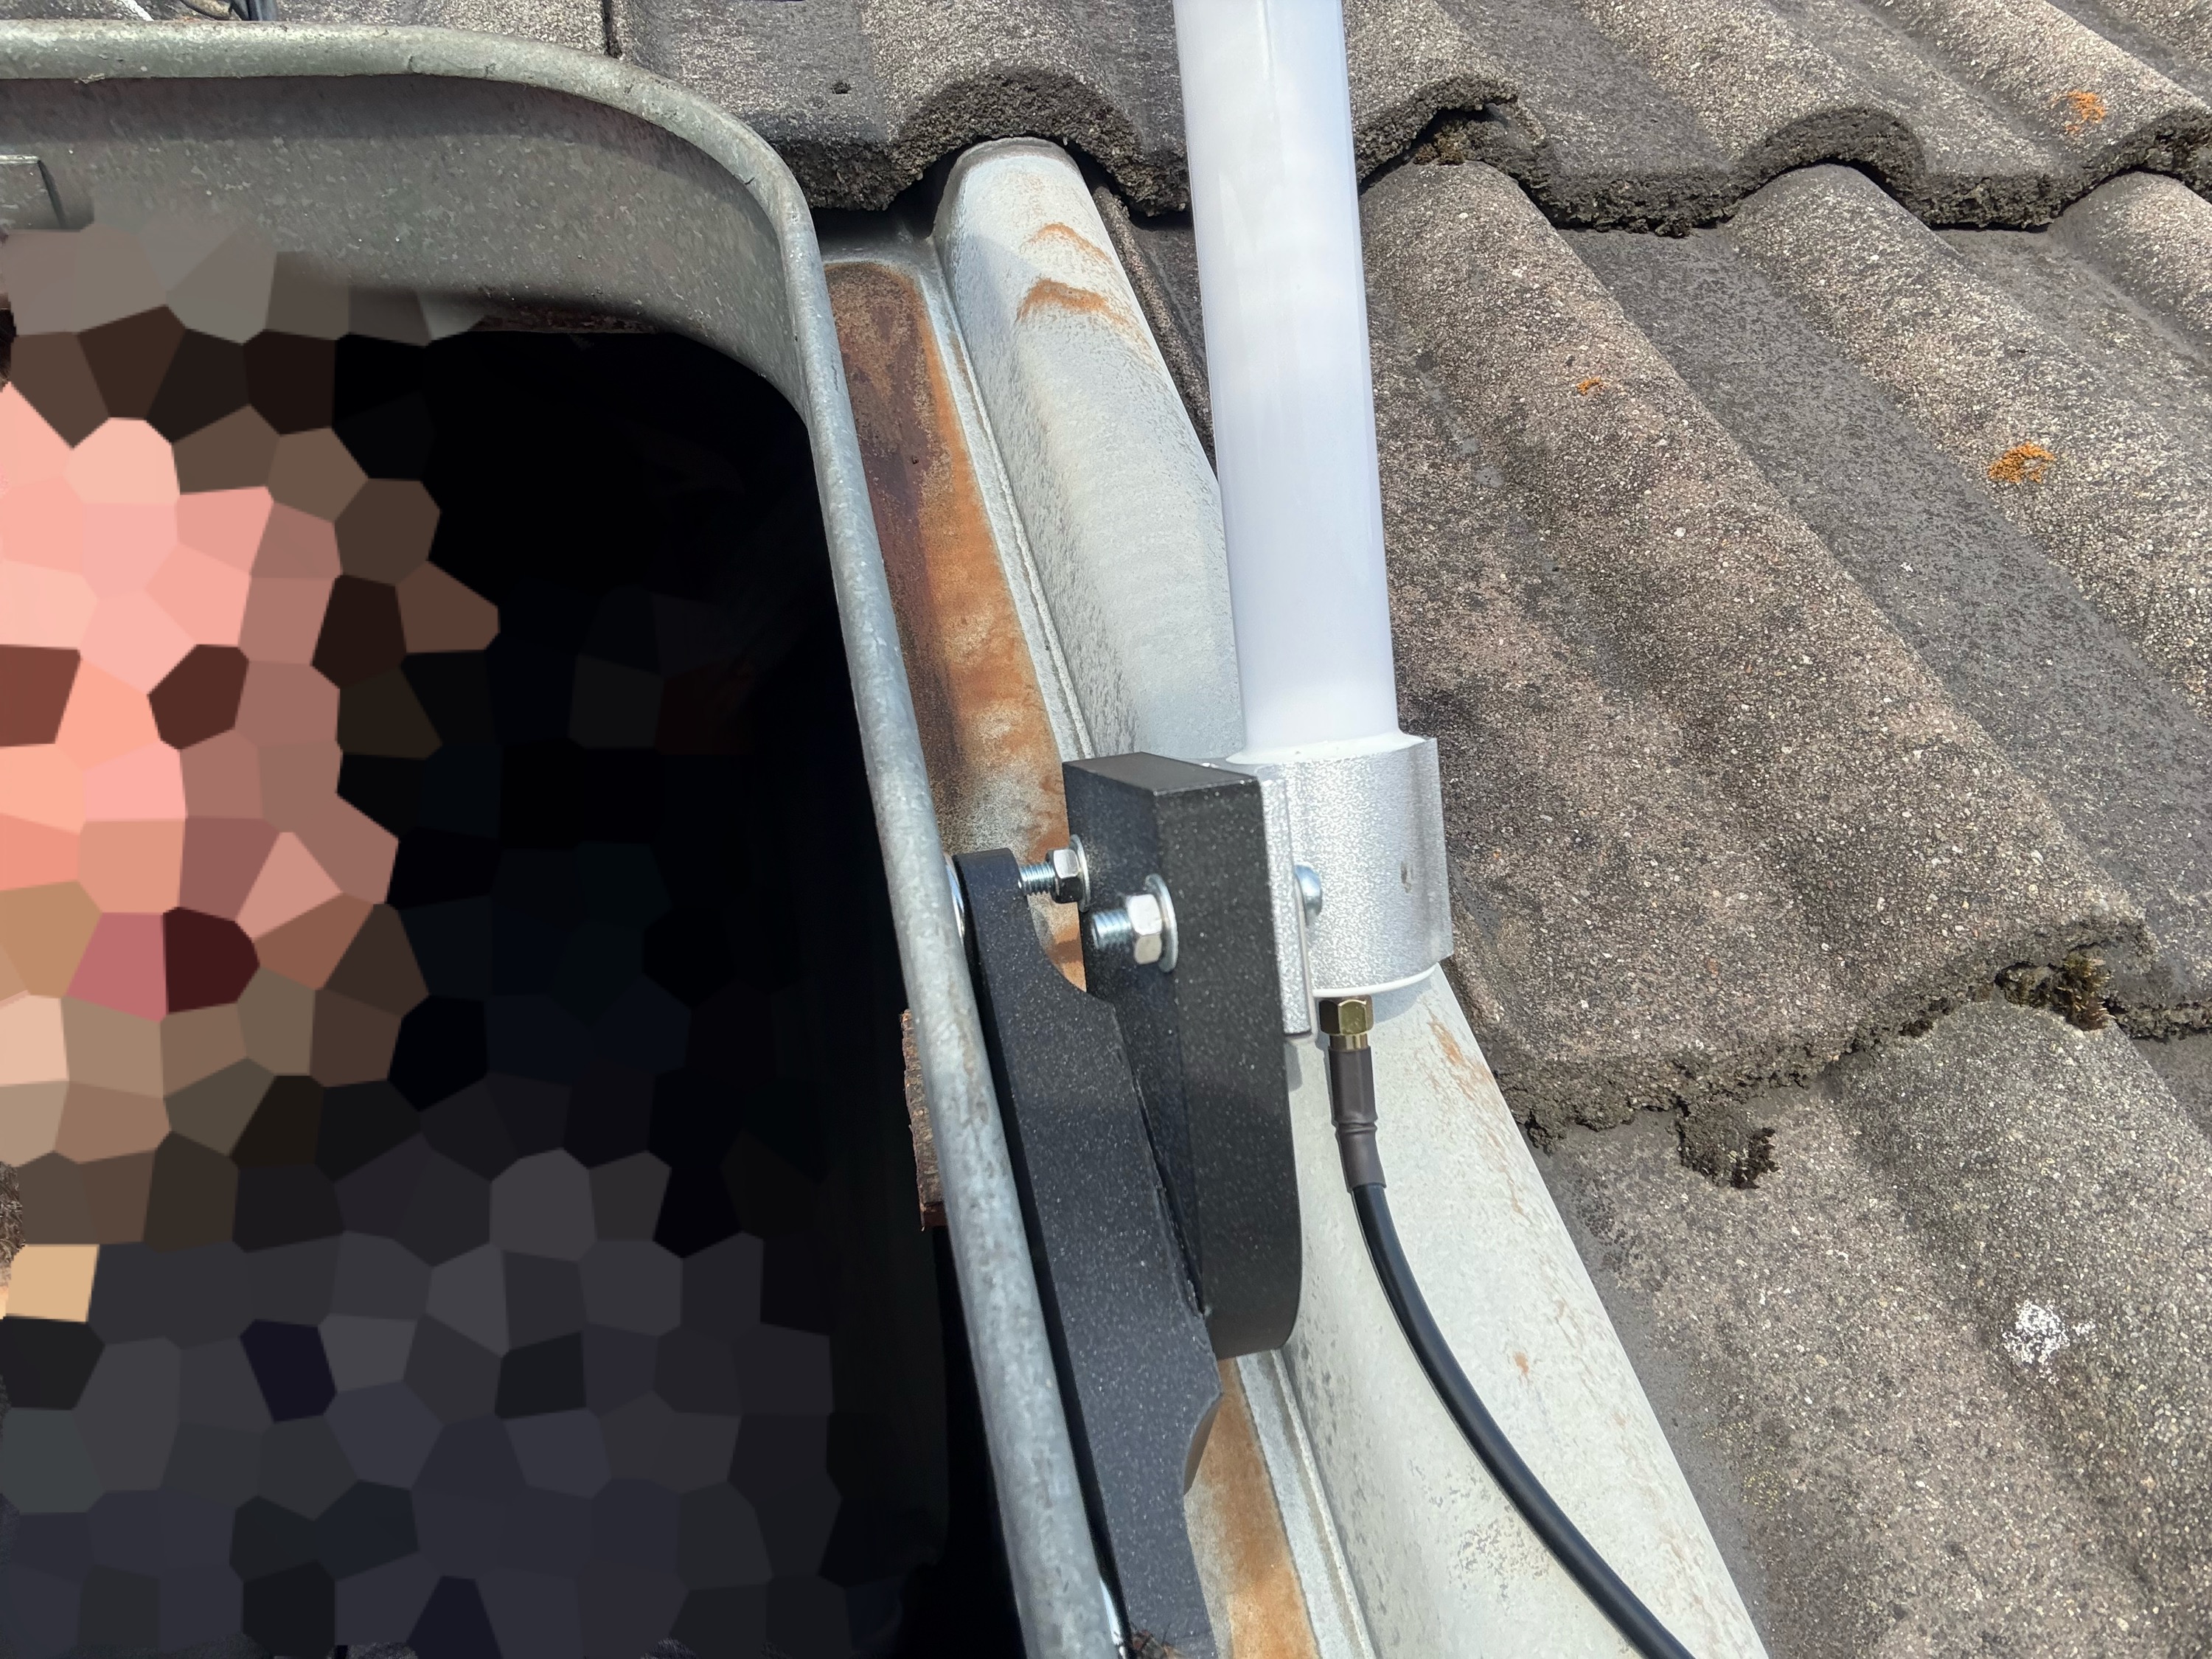
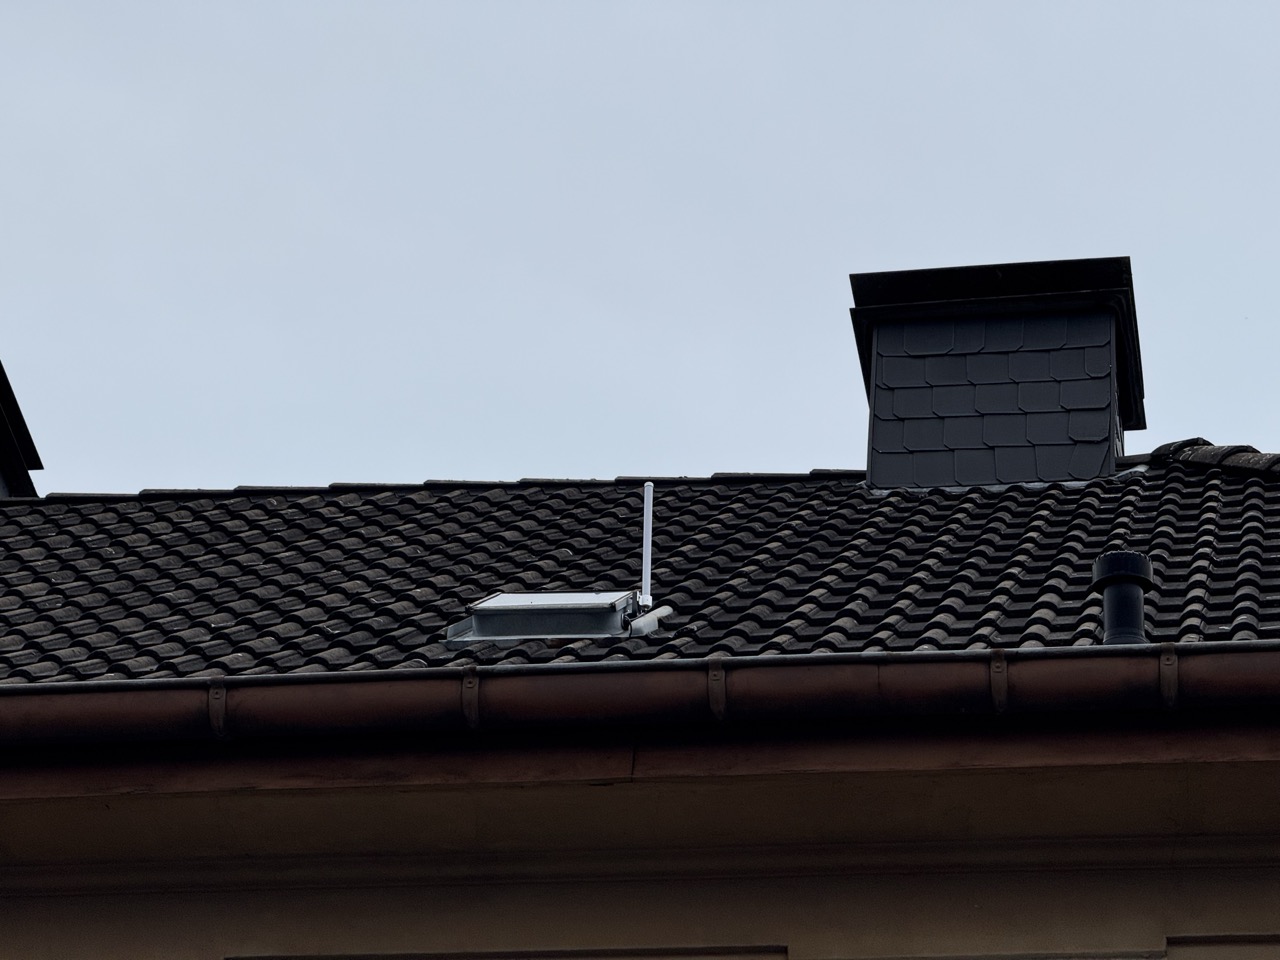
The printed parts are made of PETG. I significantly increased the infill at the connection points compared to the rest. Once everything was in position, I also glued the two parts together.
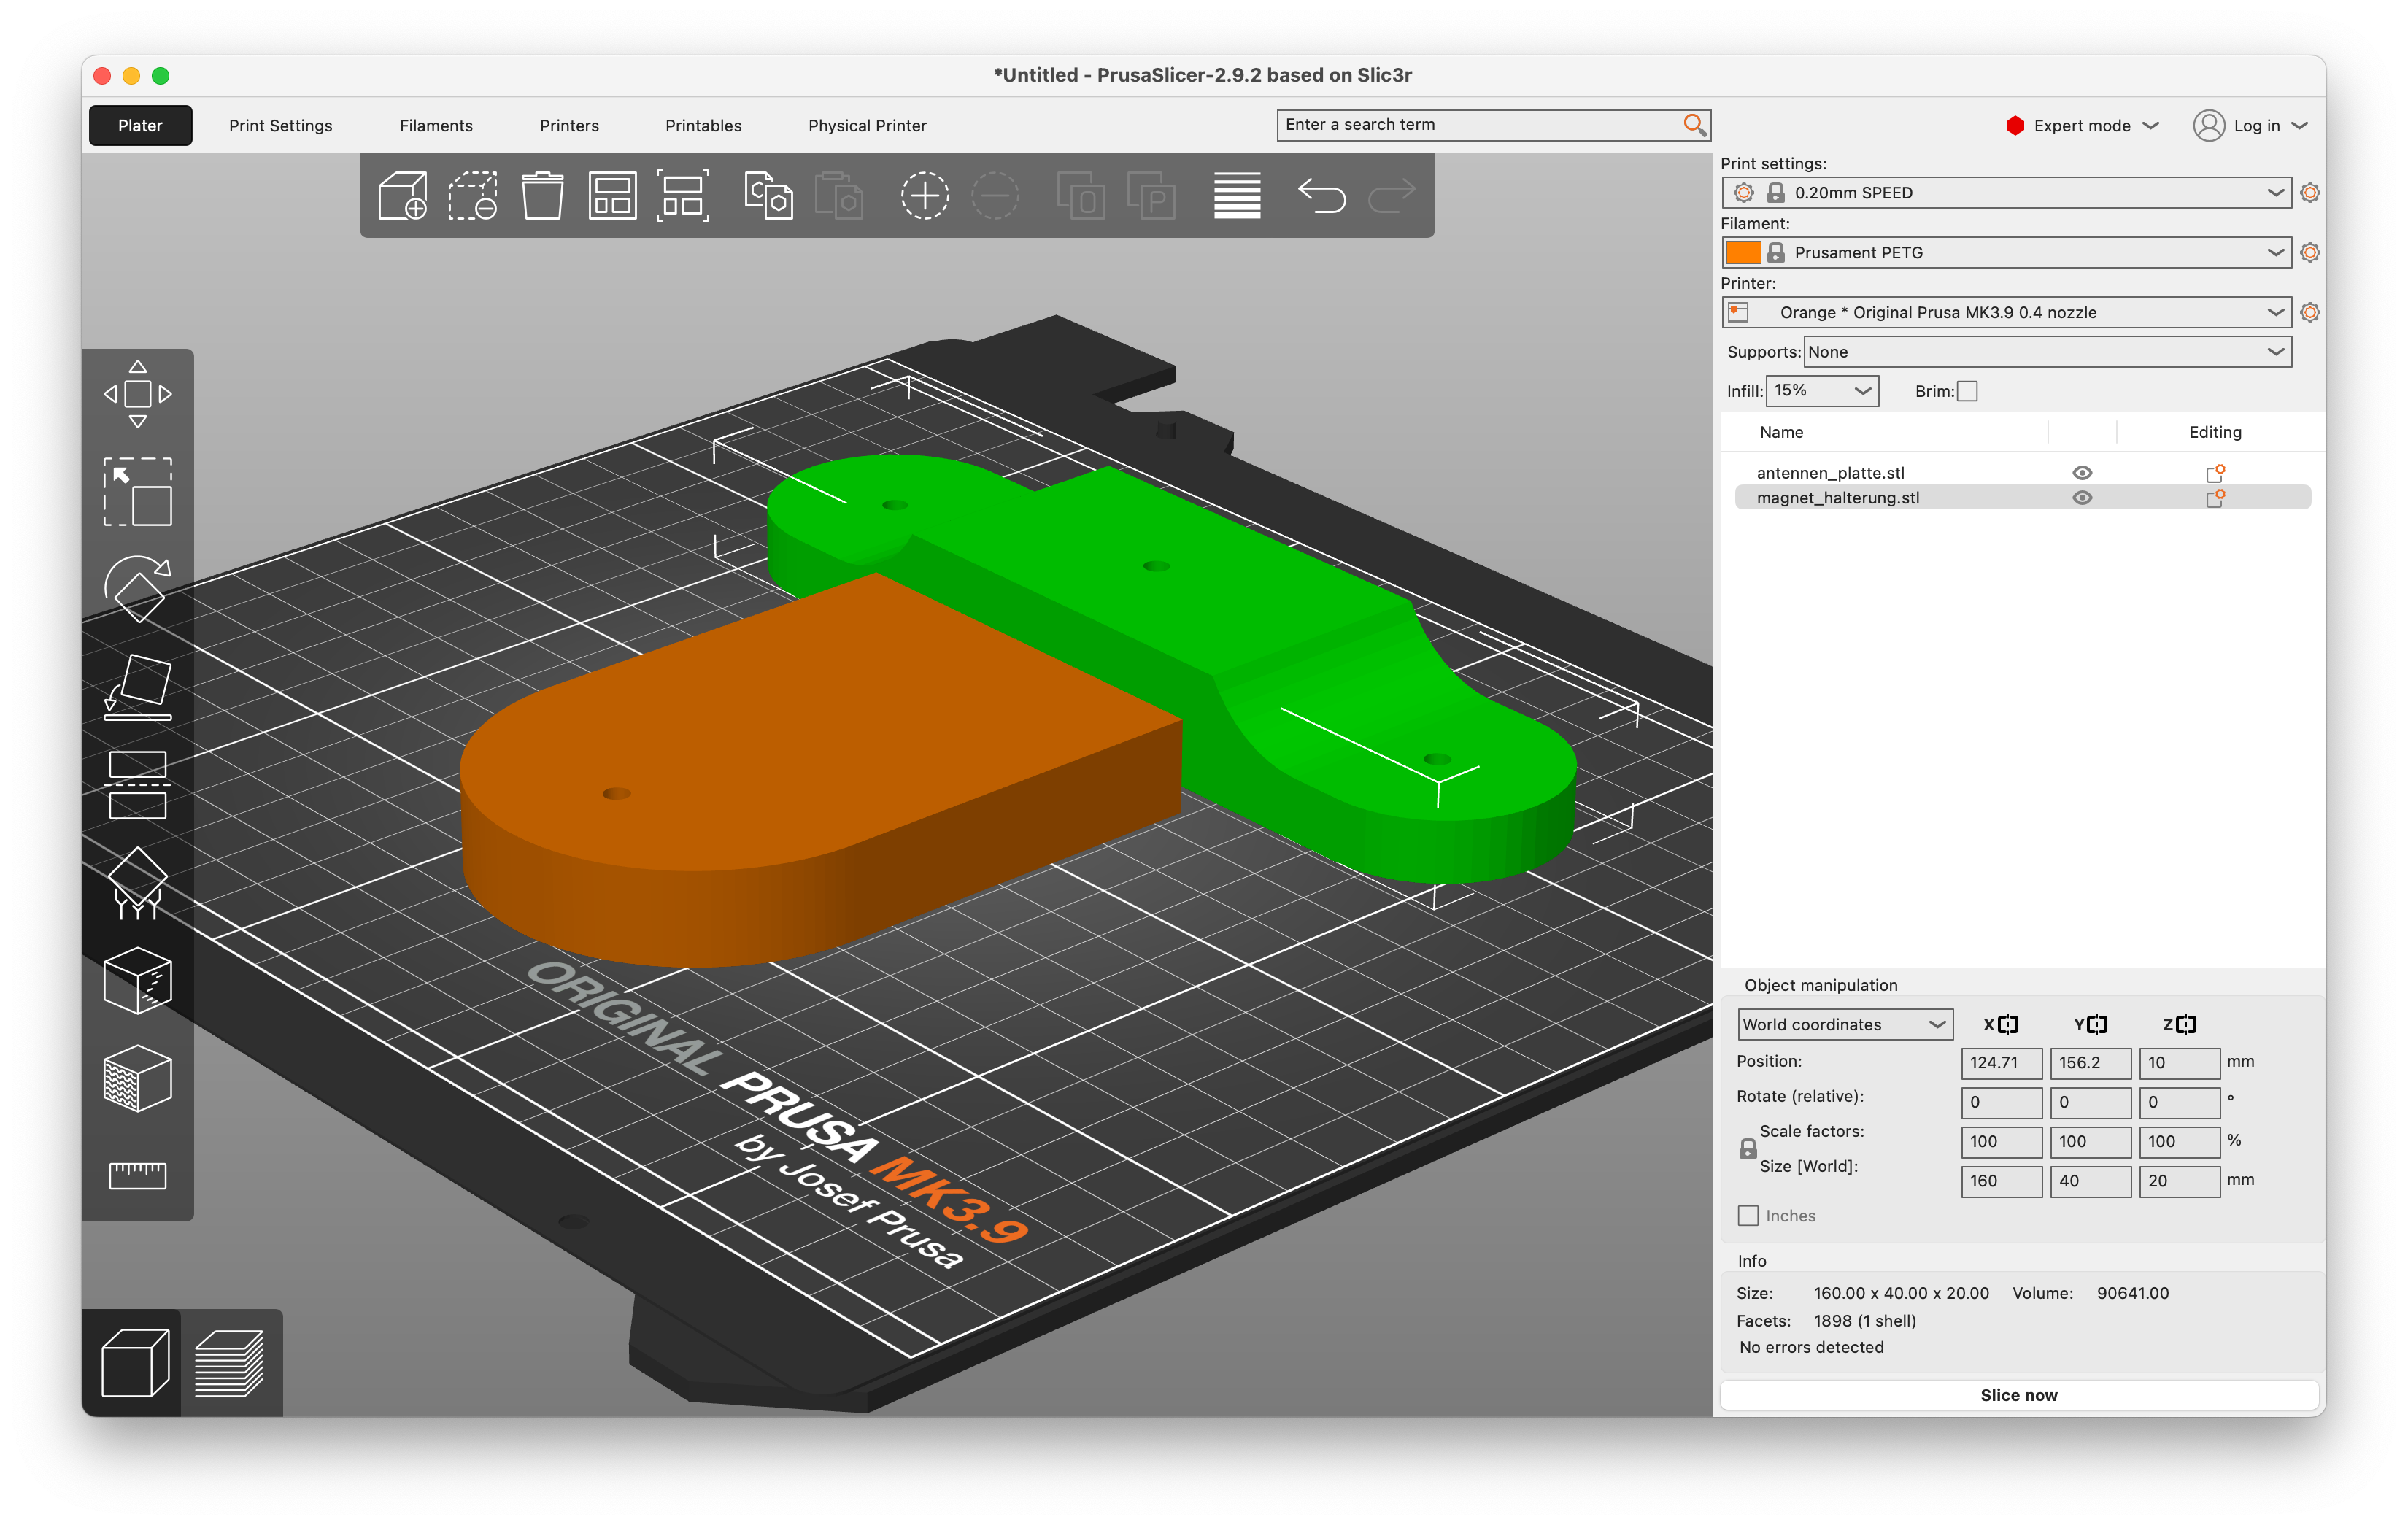
| download .STL: antenna plate | download .STL: magnet mount |

I bought these magnets on Amazon. Apparently, people use them to fish for metal parts in ponds and rivers. Anyway, it was important to me that the magnets had a hole and were strong. These magnets fulfill both requirements.
Software setup
Since I use the wonderful MeshAdv Mini HAT, it made sense to also use the Meshtasticd-Configuration-Tool published by the same developer to set up Raspberry Pi OS & Meshtasticd. It was refreshingly simple; I only had to activate the web server outside of the tool in /etc/meshtasticd/config.yaml:
Webserver:
  Port: 443 # Port for Webserver & Webservices
  RootPath: /usr/share/meshtasticd/web # Root Dir of WebServer
  SSLKey: /etc/meshtasticd/ssl/private_key.pem # Path to SSL Key, generated if not present
  SSLCert: /etc/meshtasticd/ssl/certificate.pem # Path to SSL Certificate, generated if not present